Since the release of Instagram filters in 2010, they have been effectively employed by many users of the first photo-editing social media platform. When creating any type of post on Instagram, you can choose to use filters to enhance its appearance. However, many users may not be aware that a wide variety of filters are available for them to make use of, depending on the type of post they are creating. The popularity of some of these filters is higher than that of others. If you are wondering what Instagram filters you could use to enhance your stories and reels and engage your audience, this is the right guide for you. However, let us first understand how to use Instagram filters before discussing the popular ones.
How to Use Instagram Filters?
Instagram filters are one-click presets that you may use on your posts, including stories and reels, to quickly change their appearance. The reasons to use filters include improving the appearance of your posts, making your entire feed uniform, etc. You can also use filters for fun. The filters used for posts appearing in the main feed and stories and reels are different, and they create different effects.
Filters are nothing but basic overlays, and they change the colours and shading of posts. While some make your posts brighter, others strengthen the shadows. A few filters will completely remove the colour from your image and give it a grayscale makeover.
To use filters on your Instagram posts, you have to tap on the “+” icon at the top of your profile or homepage. Then tap on the post. Select the video you are planning to upload and tap on the “Next” button at the top, on the right.
The page that opens up allows you to add preset filters of your choice to your posts. Tap on any one of these filters to overlay it on your post. Tapping on the filter once again allows you to manage its strength. Furthermore, you can tap on the “Edit” button at the bottom right to create your own filter if you are not happy with any of the available ones. Once you are done, tap on the “Next” button at the top right to save the post.
It is easier to add filters to your stories. However, you don’t have much control. The first step is to create your “story.” On the “Story” preview page, you can add stickers and text and swipe right or left to choose from about a dozen different filters.
1: Juno
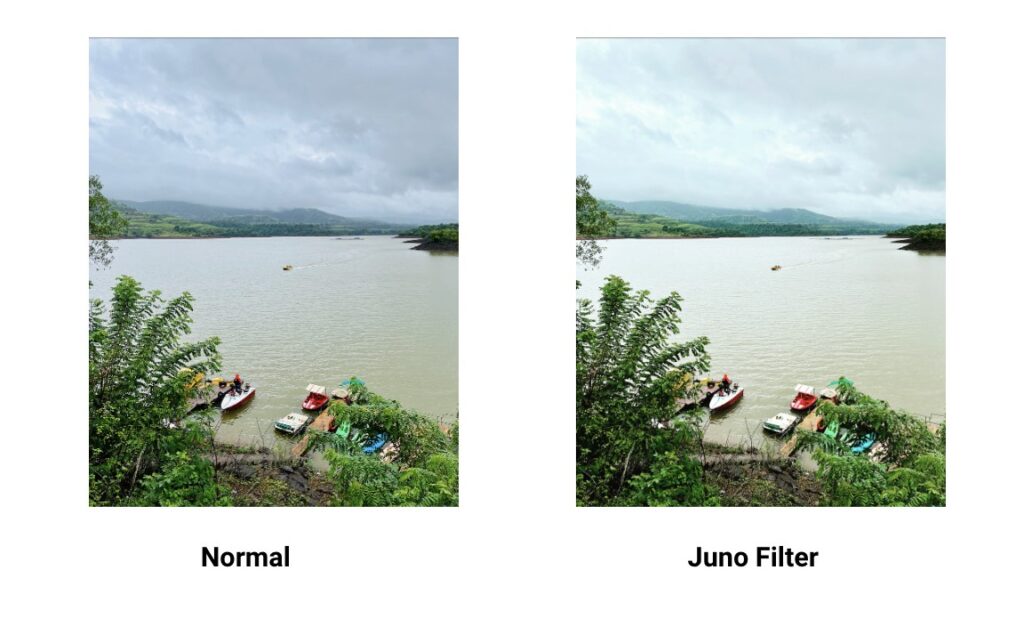
If your goal is to highlight the warm tones in your photos, then Juno is the ideal filter for you. This filter makes colours appear clearer by slightly increasing saturation and contrast. This enhances the warm tones, like yellows and reds. Therefore, it is best used for great outdoor pictures you take. This is because it adds more colours, making nature appear livelier. In addition, the filter helps make urban photographs and stories more vibrant.
2: Mayfair
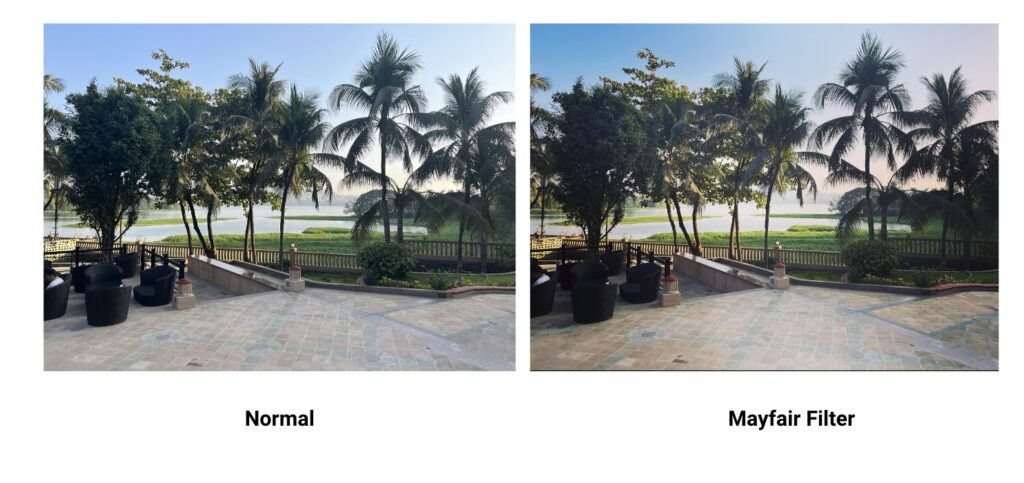
Mayfair is the filter you should be using if you want to give a soft pink hue to your post. Besides, you can use it to highlight the focused area in the centre. For selfies taken in natural sunlight, it brings about a sun-kissed glow that is not only natural but also flattering. When shooting under dark indoor lighting conditions, this filter allows you to add several highlights and create an overexposed effect.
3: Lark
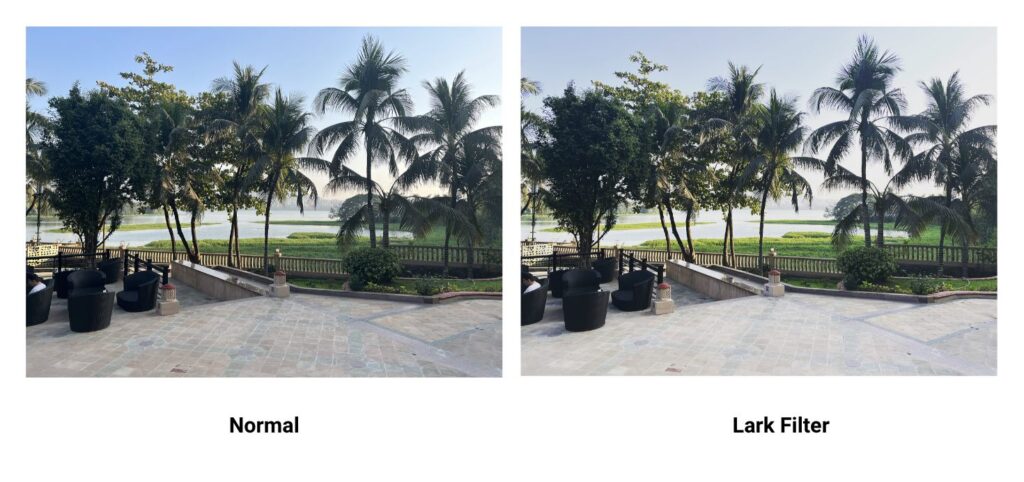
The Lark filter adds even highlights, decreases red and pink tones, and helps brighten the background. So, this filter is a good option for calming your image. It is also a great filter for different shooting conditions, including low and indoor lighting. The Lark filter enables you to add subtle highlights, minimize blemishes and wrinkles, and make the person in the photo appear younger. You can also brighten the teeth of the person in the photo. If there are too many highlights, you can tap the filter one more time and move the slider to the left to get a more natural look by decreasing the vibrance and keeping the green and blue tones enhanced.
4: Valencia
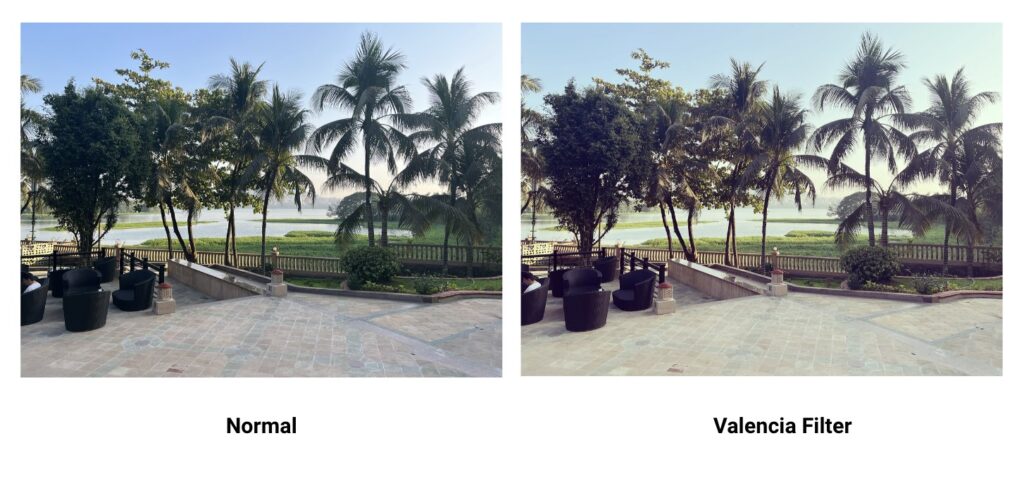
Valencia is best used for brightening posts or creating the “golden hour” feel. It offers a subtle yellow tone. Besides, it works wonderfully well when your goal is to enhance paler colours to create a warmer tone. As such, Valencia is ideally suited for shots taken in daylight.
5: Sierra
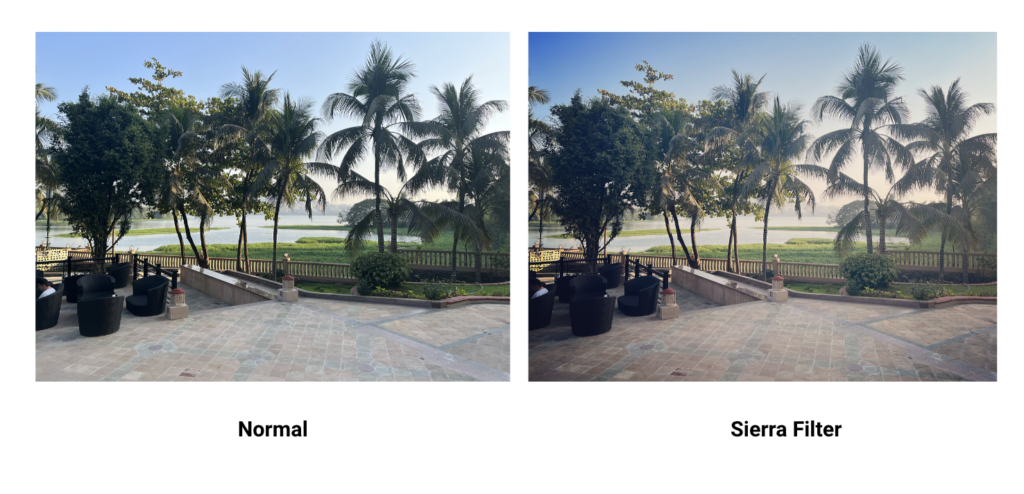
Sierra helps you add brightness and a “washout” effect at the same time, giving the post a subtle glow. The vignette feature enables you to darken the edges and give the glow an extra boost. This way, it helps you to draw the viewer’s eye to the colours in the centre of the photo. The sophisticated Sierra filter helps highlight details and brighten dark photos. Considered a hipster filter, it is best used on nature pictures and photos of food items and singular objects.
6: Clarendon
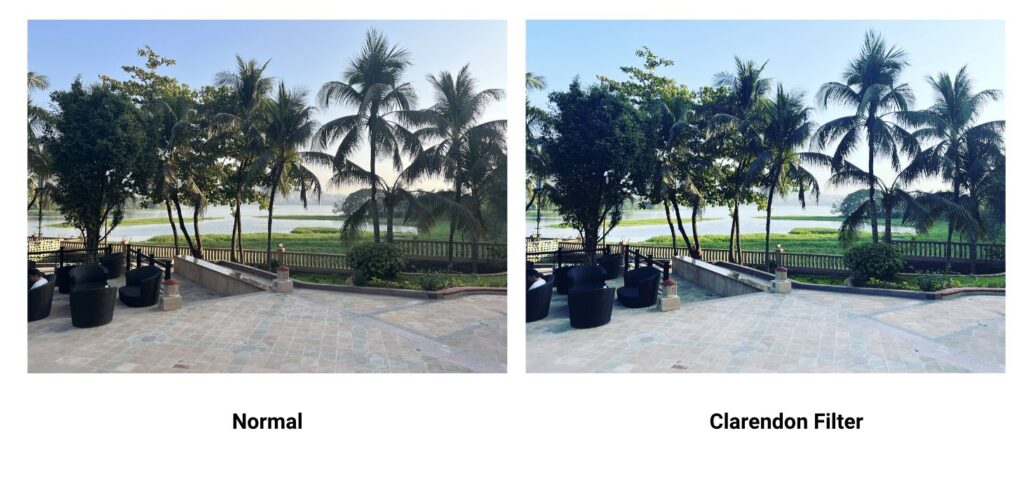
Clarendon is one of the popular Instagram filters, and it is used for giving images a natural feel. It allows you to brighten the lighter areas of an image and dim the darker tones. It neither boosts the contrast nor the saturation but enhances the natural blue tone of an image.